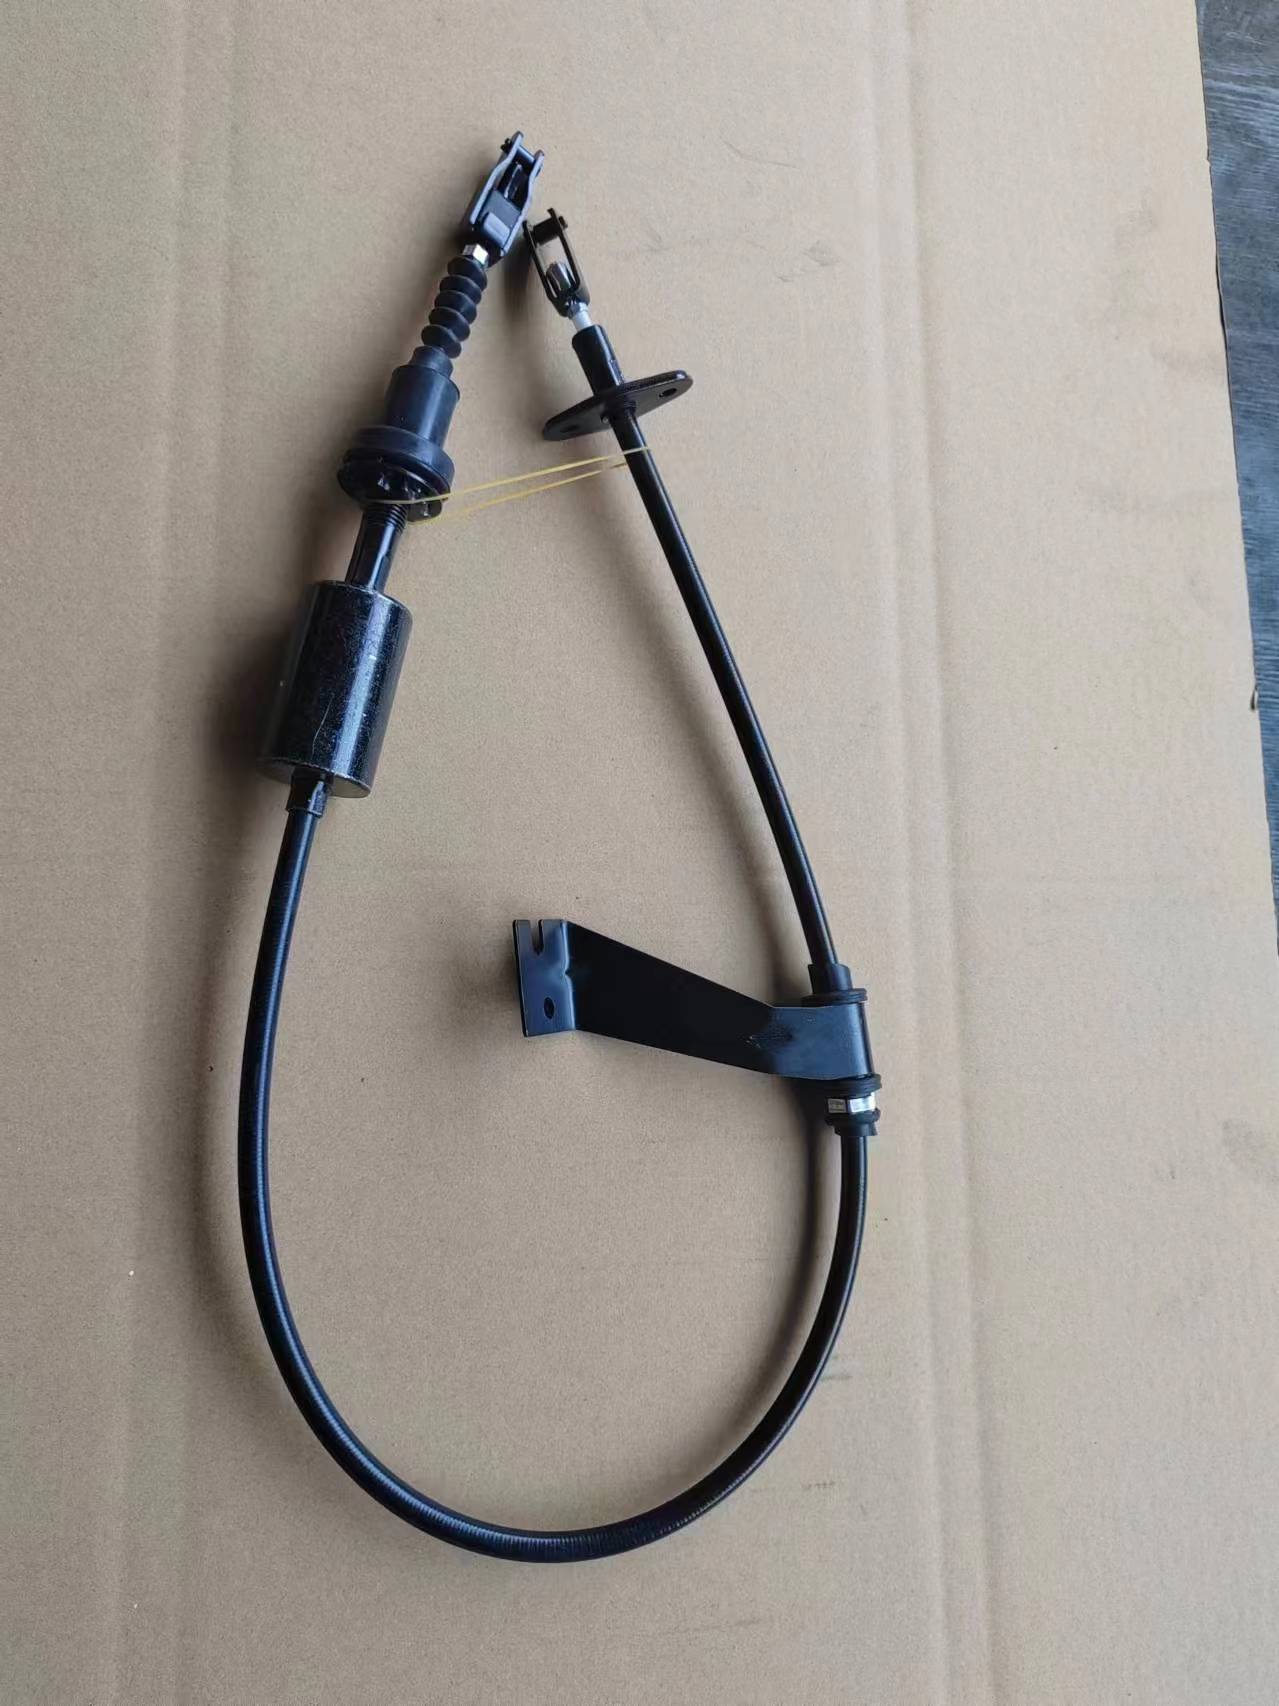
Adjusting the Throttle Cable for Optimal Performance and Smooth Operation
Fixing the Throttle Cable A Comprehensive Guide
The throttle cable plays a crucial role in ensuring that your vehicle's engine responds promptly to your commands. When you press the accelerator pedal, the throttle cable translates that action into the appropriate amount of fuel and air entering the engine. However, over time, the throttle cable can become frayed, stretched, or damaged, leading to performance issues. In this article, we will explore how to recognize the signs of a faulty throttle cable and guide you through the process of fixing or replacing it.
Recognizing the Symptoms
Before diving into the repairs, it’s essential to understand the signs that indicate a problem with your throttle cable. Common symptoms include
1. Stiff Accelerator Pedal If the pedal feels unusually hard to press or requires more effort than usual, it could be due to a binding throttle cable. 2. Unresponsive Engine If your vehicle hesitates to accelerate or the engine does not respond promptly when you press the accelerator, a damaged throttle cable may be the culprit.
3. Erratic Engine Behavior Sudden bursts of speed or fluctuations in RPM when trying to accelerate can indicate a malfunctioning throttle cable.
4. Visible Damage A quick visual inspection of the throttle cable might reveal fraying, corrosion, or kinks.
If you notice any of these symptoms, it’s time to inspect and potentially fix or replace your throttle cable.
Tools and Materials Needed
Before you start, gather the necessary tools and materials. Typically, you will need - Wrenches or socket set - Screwdrivers - Pliers - Needle-nose pliers - A new throttle cable (if replacement is needed) - Lubricant (if adjustments are sufficient)
Step-by-Step Guide to Fixing the Throttle Cable
fixing throttle cable

1. Safety First Ensure your vehicle is parked on a flat surface, the engine is off, and the keys are removed from the ignition.
2. Open the Hood Lift the hood and locate the throttle cable. It runs from the accelerator pedal to the throttle body.
3. Inspect the Cable Carefully examine the throttle cable for any visible signs of wear or damage. Check for kinks, fraying, or corrosion at the attachment points.
4. Adjust if Necessary If the cable appears to be in reasonable condition, it may just need an adjustment. Look for an adjustment screw near the throttle body and follow the manufacturer’s specifications for proper tension.
5. Lubricate If the cable is stiff but not damaged, applying a suitable lubricant along the cable can often restore smooth operation.
6. Disconnect the Cable If replacement is necessary, carefully disconnect the cable from the accelerator pedal and throttle body. Use pliers if needed to release any clips or fasteners.
7. Install the New Cable Take your new throttle cable and route it through the engine bay just like the old one. Reconnect it to both the accelerator pedal and the throttle body.
8. Test the Installation Before closing the hood, have someone press the accelerator pedal while you watch the throttle body. Ensure it opens smoothly without any binding.
9. Final Checks Once everything is reassembled, take a test drive. Pay attention to how the accelerator pedal feels and whether the engine responds correctly.
Conclusion
Fixing or replacing a faulty throttle cable is a task that many vehicle owners can tackle with a little patience and the right tools. Remember to always prioritize safety and consult your vehicle’s service manual for specific procedures. By keeping an eye on the throttle cable’s condition, you can ensure your car runs smoothly and efficiently, providing a better driving experience overall.
-
Upgrade Your Vehicle with High-Quality Handbrake CablesNewsNov.01,2024
-
Optimize Your Bike's Performance with Quality CablesNewsNov.01,2024
-
Enhance Your Vehicle's Performance with Quality Clutch ComponentsNewsNov.01,2024
-
Elevate Your Vehicle's Performance with Quality Throttle CablesNewsNov.01,2024
-
Elevate Your Vehicle's Performance with Quality CablesNewsNov.01,2024
-
Affordable Solutions for Your Cable NeedsNewsNov.01,2024
