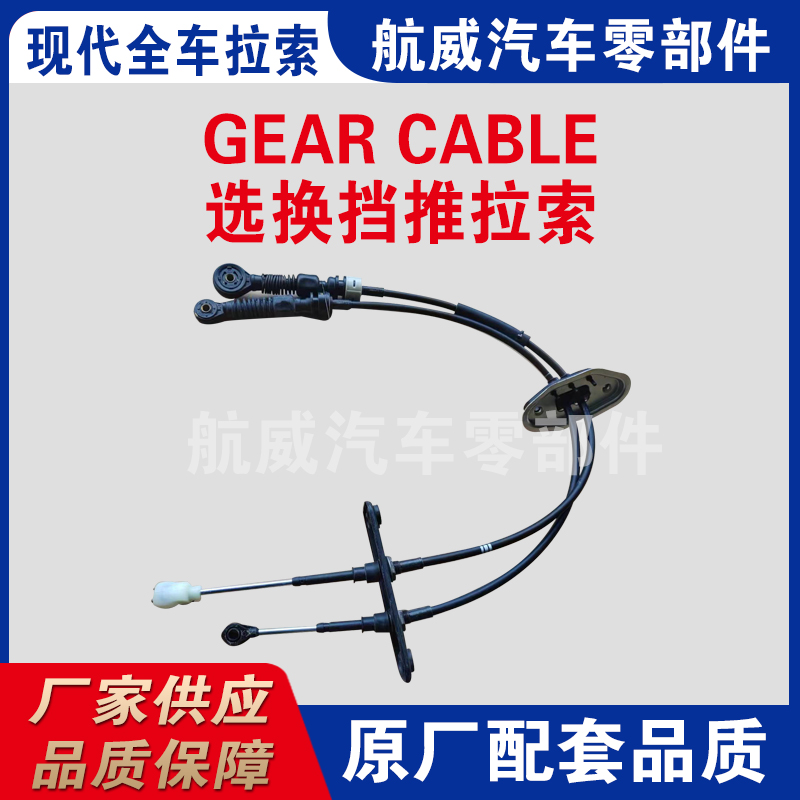
Changing Gear Cable | Comprehensive Guide for DIY Enthusiasts
Understanding Gear Cable Replacement A Guide
Changing the gear cable on your bicycle is a crucial maintenance task that can greatly enhance your riding experience. Whether you are a seasoned cyclist or a casual rider, being able to replace your gear cable can save you time and money while ensuring your bike operates smoothly.
Why Replace the Gear Cable?
Over time, gear cables can become frayed or stretched, leading to poor shifting performance. A worn cable may cause your bike to skip gears or struggle to shift smoothly, making your rides less enjoyable. Additionally, environmental factors such as moisture and dirt can contribute to cable wear, increasing the likelihood of needing a replacement. Keeping your gear cables in optimal condition is not just about performance; it's also about safety.
Tools Required
Before you start the process, gather the necessary tools a new gear cable, a cable cutter, an Allen wrench, and a screwdriver. You may also need a bike stand to make the process more comfortable. Having everything ready will streamline your repair and help you avoid interruptions.
Step-by-Step Process
changing gear cable

1. Remove the Old Cable Start by shifting your bike into the easiest gear. This will relieve tension on the cable. Use your Allen wrench to loosen the bolt securing the cable on the derailleur. Once loose, you can remove the cable from the housing.
2. Install the New Cable Take your new gear cable and thread it through the housing. Make sure it goes through all the guides and, ultimately, into the derailleur. This step is crucial; if the cable is not properly threaded, you will experience difficulties when shifting.
3. Adjust Tension Reattach the cable to the derailleur and ensure it is firmly secured. You may need to adjust the tension to ensure smooth shifting. This can be done by turning the barrel adjuster found on the shifters or derailleur.
4. Test Your Shifts After everything is connected, it’s important to test your bike's shifting capabilities. Shift through all the gears to make sure they engage smoothly and without hesitation. If there are issues, you might need to readjust the cable tension.
5. Final Touches Cut any excess cable, and add a cable end cap to prevent fraying. Wipe down the components to remove any dirt or debris that may have accumulated during the process.
Conclusion
Changing your gear cable is a simple yet effective way to maintain your bike’s performance. With a little patience and the right tools, you can enjoy a smoother ride and better shifting for many miles to come. Keep your bike well-maintained, and it will reward you with enjoyable and safe rides!
-
Upgrade Your Vehicle with High-Quality Handbrake CablesNewsNov.01,2024
-
Optimize Your Bike's Performance with Quality CablesNewsNov.01,2024
-
Enhance Your Vehicle's Performance with Quality Clutch ComponentsNewsNov.01,2024
-
Elevate Your Vehicle's Performance with Quality Throttle CablesNewsNov.01,2024
-
Elevate Your Vehicle's Performance with Quality CablesNewsNov.01,2024
-
Affordable Solutions for Your Cable NeedsNewsNov.01,2024
