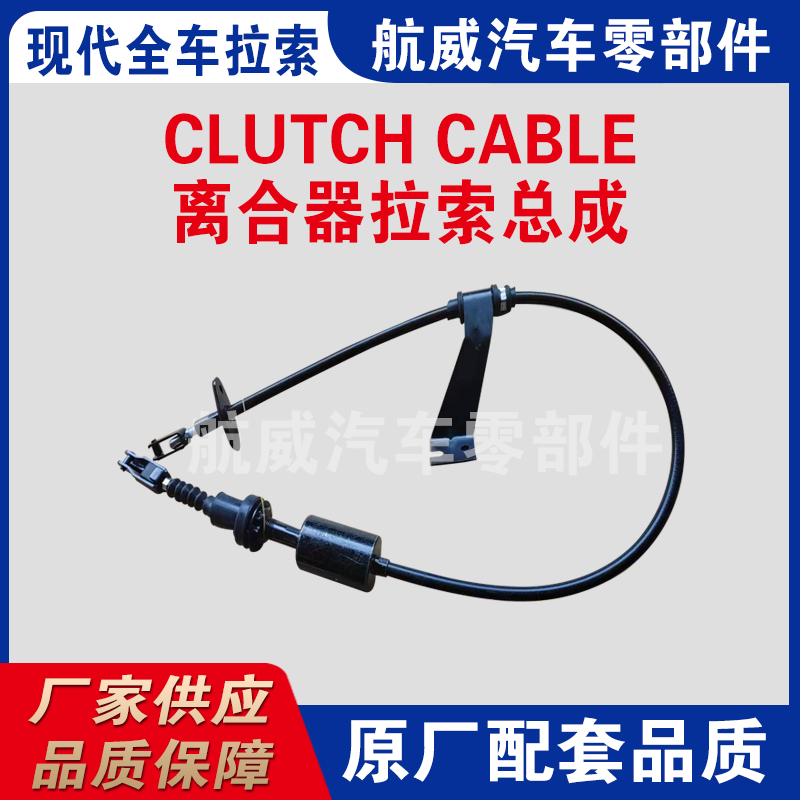
changing gear cable
Changing Gear Cable A DIY Guide
Changing the gear cable of your bicycle is an essential maintenance task that can significantly enhance your riding experience. Over time, gear cables can wear out, fray, or become sticky due to dirt and grime, leading to poor shifting performance. Fortunately, replacing a gear cable is a straightforward DIY task that can be accomplished with a few basic tools and some patience. Here’s how to do it.
Tools and Materials Needed
1. New gear cable 2. Cable cutters 3. Allen keys or wrenches (for your bike's specific components) 4. Screwdriver 5. Lubricant (optional) 6. Rags for cleaning
Changing Gear Cable A DIY Guide
1. Prepare Your Bicycle Start by securing your bike on a stand or propping it against a wall. Shift the gears to the lowest setting to relieve tension on the cable. This makes it easier to remove the old cable.
changing gear cable

2. Remove the Old Cable Locate the grommet where the cable enters the shifter and disengage it, then follow it down to the derailleur. Use a screwdriver to loosen any retaining screws holding the cable in place at both the shifter and the derailleur. Carefully pull the old cable out of its housing.
3. Inspect and Clean Before installing the new cable, inspect the housing for any damage or obstructions. Clean the housing with a rag to remove any dirt or debris that could impede the new cable's movement. If necessary, add a bit of lubricant to enhance performance.
4. Install the New Gear Cable Start by feeding the new cable through the shifter. Ensure it is seated correctly and that the housing is in place. Guide the cable through the housing and down to the derailleur. Thread it through the derailleur's clamp and tighten the screw to secure it in place. Be careful not to overtighten, as this can damage the cable.
5. Adjust Tension and Trim Excess Shift the gears to check the tension of the cable. You may need to adjust the barrel adjuster on the shifter to get the right tension. Trim any excess cable, leaving enough length for future adjustments, and ensure to cap the end with a cable end cap to prevent fraying.
6. Test the Gears Finally, test the gear shifting on your bike by going through all the gears. If everything feels smooth and responsive, you’ve successfully changed the gear cable!
Conclusion Changing your gear cable may seem daunting at first, but with this guide, you can perform the task with confidence. Not only will fresh cables improve your gear shifting, but you'll also gain a sense of accomplishment from maintaining your bicycle yourself. Regular maintenance, including gear cable replacement, will prolong the life of your components and enhance your overall riding experience. Happy cycling!
-
Upgrade Your Vehicle with High-Quality Handbrake CablesNewsNov.01,2024
-
Optimize Your Bike's Performance with Quality CablesNewsNov.01,2024
-
Enhance Your Vehicle's Performance with Quality Clutch ComponentsNewsNov.01,2024
-
Elevate Your Vehicle's Performance with Quality Throttle CablesNewsNov.01,2024
-
Elevate Your Vehicle's Performance with Quality CablesNewsNov.01,2024
-
Affordable Solutions for Your Cable NeedsNewsNov.01,2024
