
2 月 . 12, 2025 01:57
Back to list
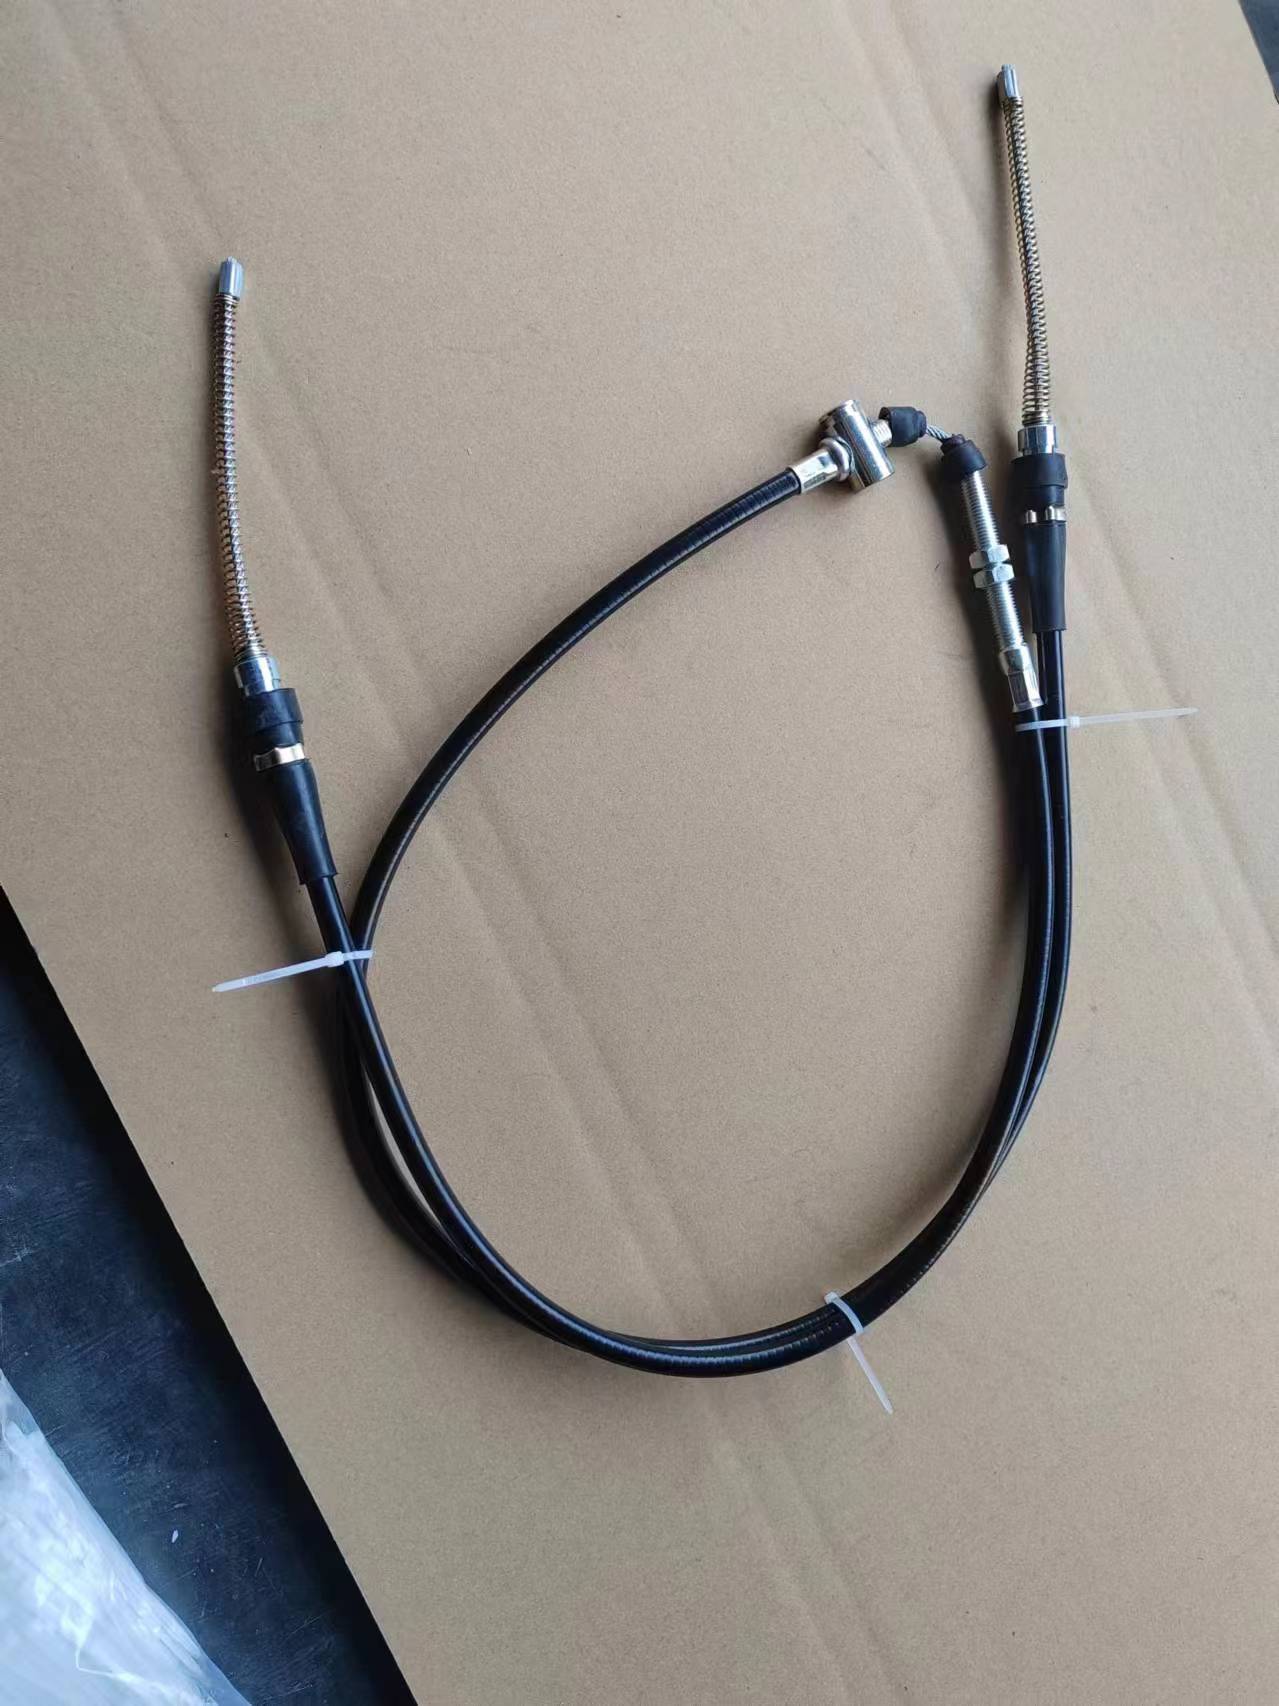
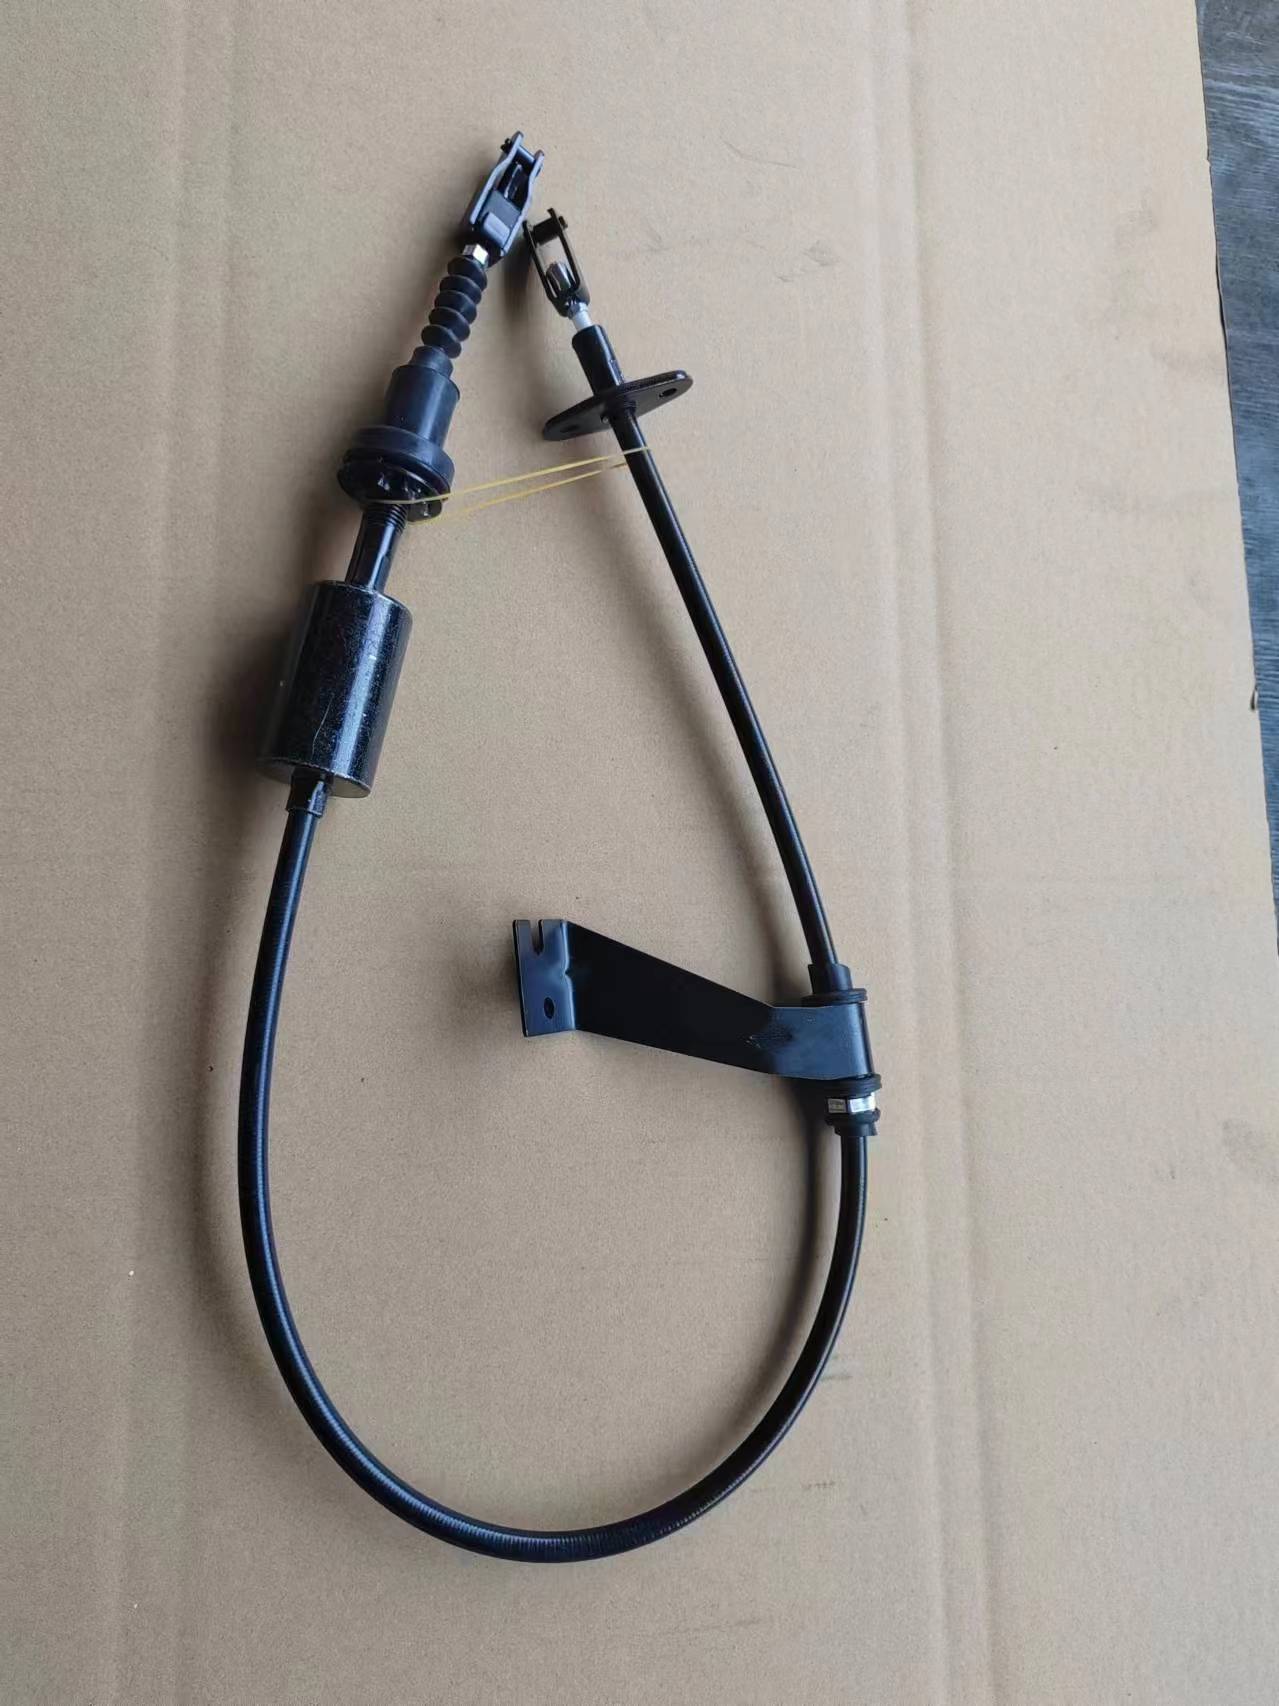
changing shifter cable
Changing a shifter cable is an integral part of bicycle maintenance that enhances performance and ensures smooth gear shifts. As an experienced cyclist and a DIY enthusiast, I've had numerous encounters with shifter cable adjustments and replacements, and I can confidently say that expertise in this area can significantly elevate your cycling experiences.
Once the old cable is removed, prepare the new shifter cable by inserting it into the shifter. Thread it through the same path in the frame, ensuring smooth movement. Affix the cable to the derailleur and lightly tighten the bolt. It’s essential to adjust the cable tension correctly, as too tight or too loose can lead to gear problems. Fine-tune the tension by testing the gears and making necessary adjustments through the barrel adjusters. Quality of the new cable plays a vital role in its longevity and performance. Stainless steel cables are highly recommended due to their resistance to corrosion and durability. Investing in a quality cable not only improves immediate performance but also extends the service interval, giving you peace of mind on your rides. After replacing the cable, a test ride is necessary. Ride through all gears, both uphill and downhill, ensuring each shift is smooth and precise. Minor adjustments might be needed to achieve optimal shifting. Patience is key here; a perfectly adjusted shifter cable transforms the ride quality immensely. For those venturing into this task without prior experience, numerous online resources, including video tutorials and cycling forums, provide step-by-step guidance. However, it's paramount to rely on credible sources to avoid misinformation. Leveraging knowledge from seasoned cyclists or professional mechanics can prove invaluable. In conclusion, changing a shifter cable is a vital skill that every cyclist should acquire. It not only restores your bike's optimal performance but also serves as a preventive measure against more severe mechanical issues. With the right tools, a high-quality cable, and a bit of practice, you can easily maintain and prolong the life of your bicycle. By doing so, you ensure that every ride is a smooth, enjoyable, and safe experience.
Once the old cable is removed, prepare the new shifter cable by inserting it into the shifter. Thread it through the same path in the frame, ensuring smooth movement. Affix the cable to the derailleur and lightly tighten the bolt. It’s essential to adjust the cable tension correctly, as too tight or too loose can lead to gear problems. Fine-tune the tension by testing the gears and making necessary adjustments through the barrel adjusters. Quality of the new cable plays a vital role in its longevity and performance. Stainless steel cables are highly recommended due to their resistance to corrosion and durability. Investing in a quality cable not only improves immediate performance but also extends the service interval, giving you peace of mind on your rides. After replacing the cable, a test ride is necessary. Ride through all gears, both uphill and downhill, ensuring each shift is smooth and precise. Minor adjustments might be needed to achieve optimal shifting. Patience is key here; a perfectly adjusted shifter cable transforms the ride quality immensely. For those venturing into this task without prior experience, numerous online resources, including video tutorials and cycling forums, provide step-by-step guidance. However, it's paramount to rely on credible sources to avoid misinformation. Leveraging knowledge from seasoned cyclists or professional mechanics can prove invaluable. In conclusion, changing a shifter cable is a vital skill that every cyclist should acquire. It not only restores your bike's optimal performance but also serves as a preventive measure against more severe mechanical issues. With the right tools, a high-quality cable, and a bit of practice, you can easily maintain and prolong the life of your bicycle. By doing so, you ensure that every ride is a smooth, enjoyable, and safe experience.
Next:
Latest news
-
Upgrade Your Vehicle with High-Quality Handbrake CablesNewsNov.01,2024
-
Optimize Your Bike's Performance with Quality CablesNewsNov.01,2024
-
Enhance Your Vehicle's Performance with Quality Clutch ComponentsNewsNov.01,2024
-
Elevate Your Vehicle's Performance with Quality Throttle CablesNewsNov.01,2024
-
Elevate Your Vehicle's Performance with Quality CablesNewsNov.01,2024
-
Affordable Solutions for Your Cable NeedsNewsNov.01,2024