
2 月 . 16, 2025 12:17
Back to list
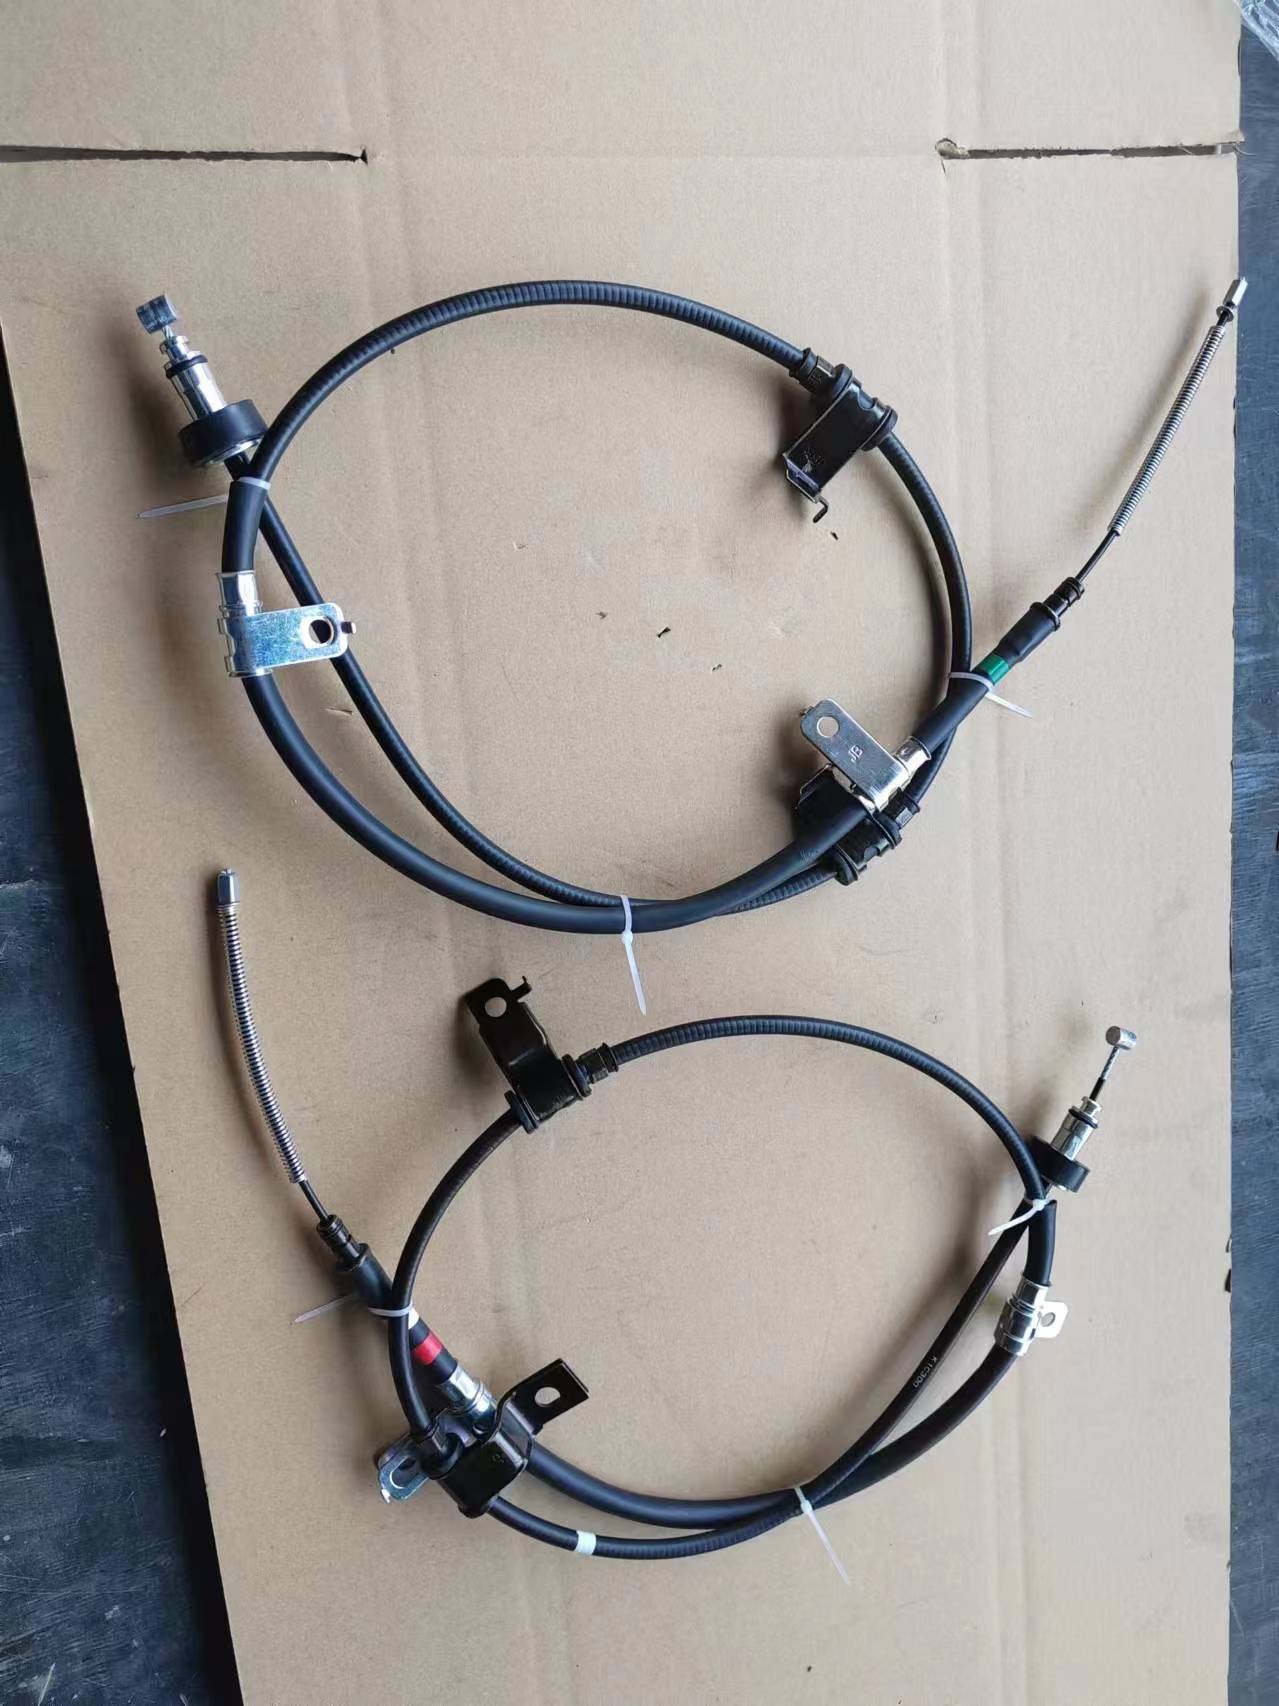
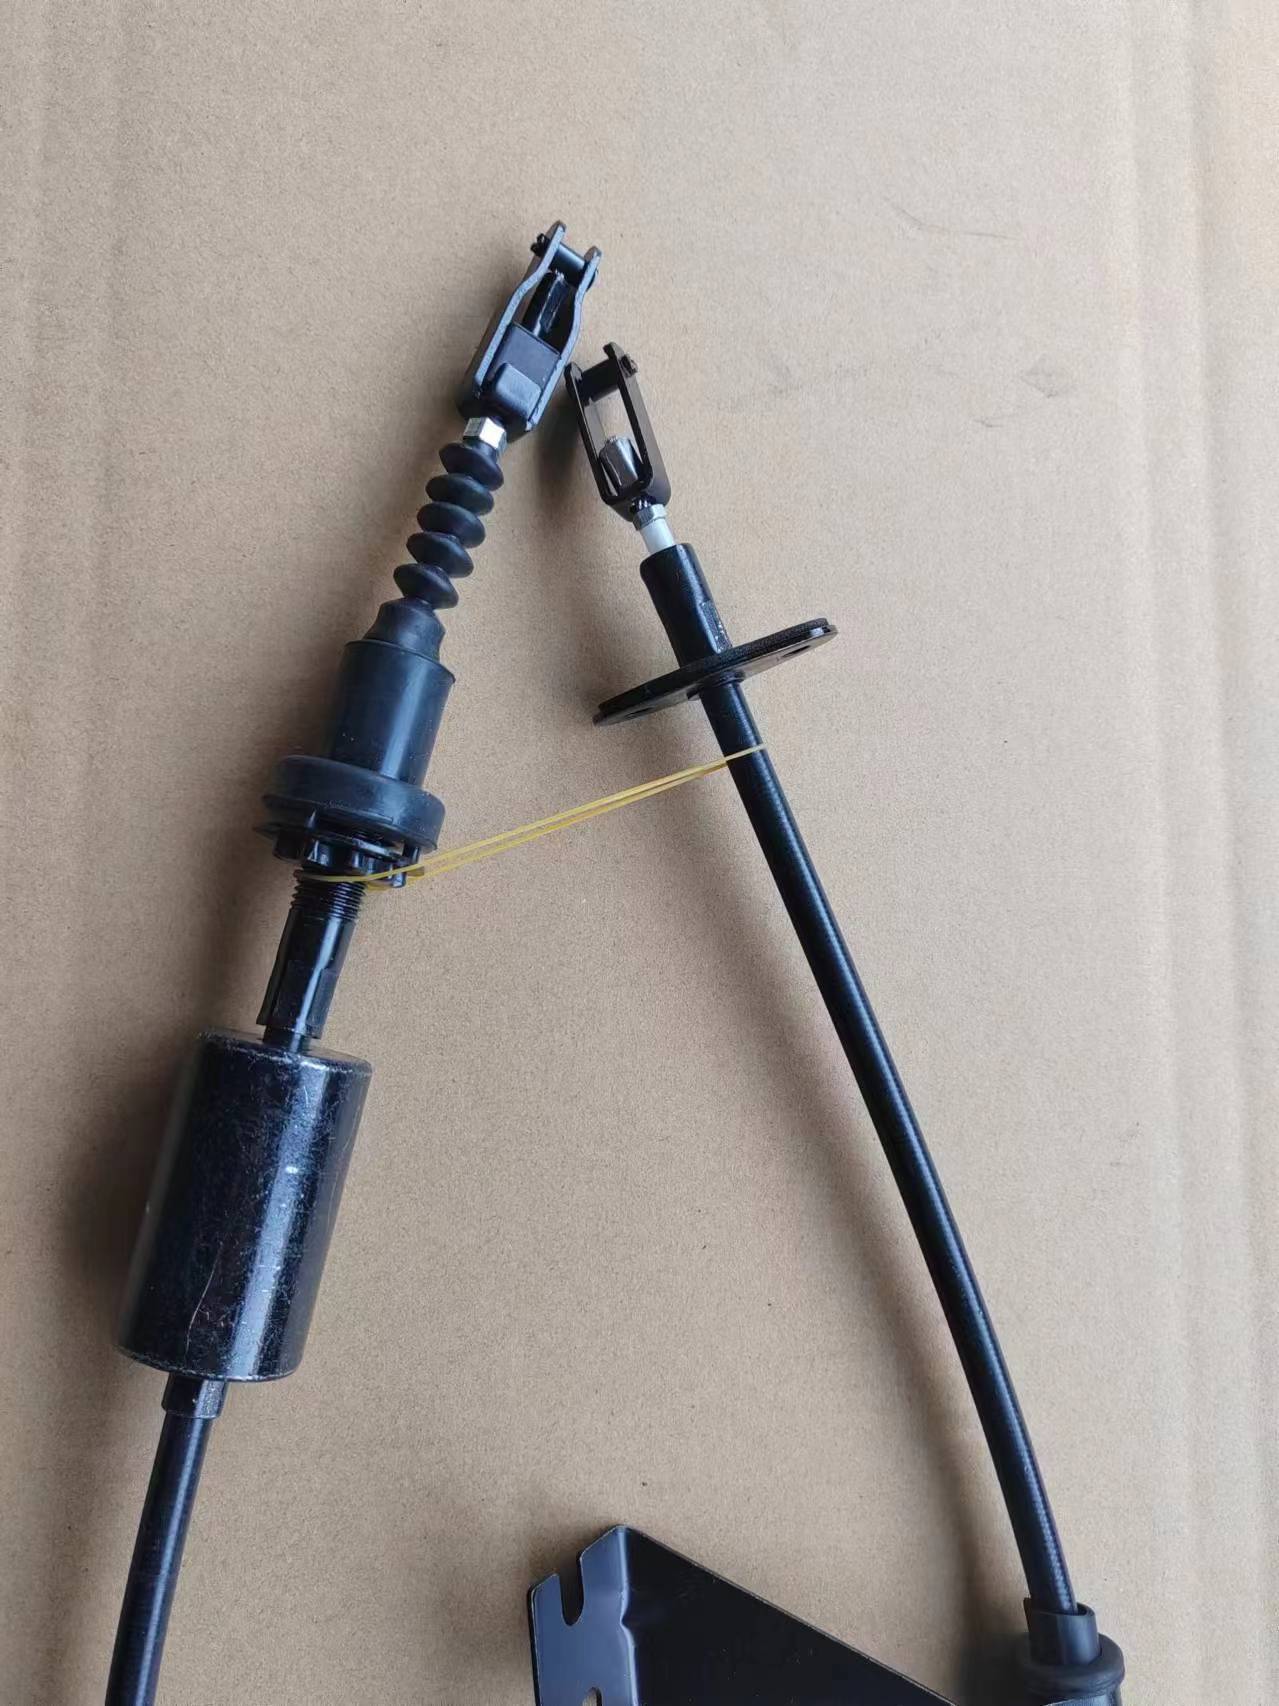
Clutch Push-Pull Cable
When embarking on the journey of assembling a bicycle or upgrading its components, few elements are as critical as the derailleur assembly. This intricate mechanism is central to the bike's gear shifting performance, dictating not only the comfort of your ride but also its efficiency. The derailleur system, comprising both front and rear derailleurs, can be daunting to the uninitiated. However, understanding its fundamental parts and functionality can empower both the weekend cyclist and the seasoned professional to achieve superior bike performance.
Installation begins with securing your bike on a stand, ensuring an unobstructed and safe working environment. Begin with attaching the rear derailleur to the derailleur hanger and tighten it firmly, ensuring it is perpendicular to the ground. Proceed by connecting the shifter cable, adjusting the barrel adjuster for cable tension. Likewise, the front derailleur should be positioned parallel to the chainrings and at the recommended height. Fine-tune its position using the limit screws, ensuring it doesn’t rub against the chain. A thorough tune-up process remains critical post-assembly. Firstly, test each gear shift, calibrating the barrel adjuster as needed to achieve smooth transitions. Adequate lubrication of the chain and jockey wheels reduces friction and prolongs component life. Periodic checks and adjustments are recommended since cable tension can alter with time and derailleur hangers might bend subtly during use. Considering the advancements in derailleur technology—such as electronic shifting systems—staying updated with manufacturer guidelines and video tutorials can enrich understanding and execution. Investing time in mastering derailleur assembly can transform your cycling experience, translating into efficient rides and reduced mechanical disruptions. The art of derailleur assembly isn’t solely a mechanical task, but a bridge to a deeper understanding of bicycle mechanics. For the professional mechanic, it exemplifies precision and mastery. For enthusiasts, it represents empowerment and the satisfaction of a finely tuned machine. In a world of constant innovation, the fundamental principles of derailleur assembly remain a testament to the blend of engineering precision and human experience.
Installation begins with securing your bike on a stand, ensuring an unobstructed and safe working environment. Begin with attaching the rear derailleur to the derailleur hanger and tighten it firmly, ensuring it is perpendicular to the ground. Proceed by connecting the shifter cable, adjusting the barrel adjuster for cable tension. Likewise, the front derailleur should be positioned parallel to the chainrings and at the recommended height. Fine-tune its position using the limit screws, ensuring it doesn’t rub against the chain. A thorough tune-up process remains critical post-assembly. Firstly, test each gear shift, calibrating the barrel adjuster as needed to achieve smooth transitions. Adequate lubrication of the chain and jockey wheels reduces friction and prolongs component life. Periodic checks and adjustments are recommended since cable tension can alter with time and derailleur hangers might bend subtly during use. Considering the advancements in derailleur technology—such as electronic shifting systems—staying updated with manufacturer guidelines and video tutorials can enrich understanding and execution. Investing time in mastering derailleur assembly can transform your cycling experience, translating into efficient rides and reduced mechanical disruptions. The art of derailleur assembly isn’t solely a mechanical task, but a bridge to a deeper understanding of bicycle mechanics. For the professional mechanic, it exemplifies precision and mastery. For enthusiasts, it represents empowerment and the satisfaction of a finely tuned machine. In a world of constant innovation, the fundamental principles of derailleur assembly remain a testament to the blend of engineering precision and human experience.
Next:
Latest news
-
Upgrade Your Vehicle with High-Quality Handbrake CablesNewsNov.01,2024
-
Optimize Your Bike's Performance with Quality CablesNewsNov.01,2024
-
Enhance Your Vehicle's Performance with Quality Clutch ComponentsNewsNov.01,2024
-
Elevate Your Vehicle's Performance with Quality Throttle CablesNewsNov.01,2024
-
Elevate Your Vehicle's Performance with Quality CablesNewsNov.01,2024
-
Affordable Solutions for Your Cable NeedsNewsNov.01,2024