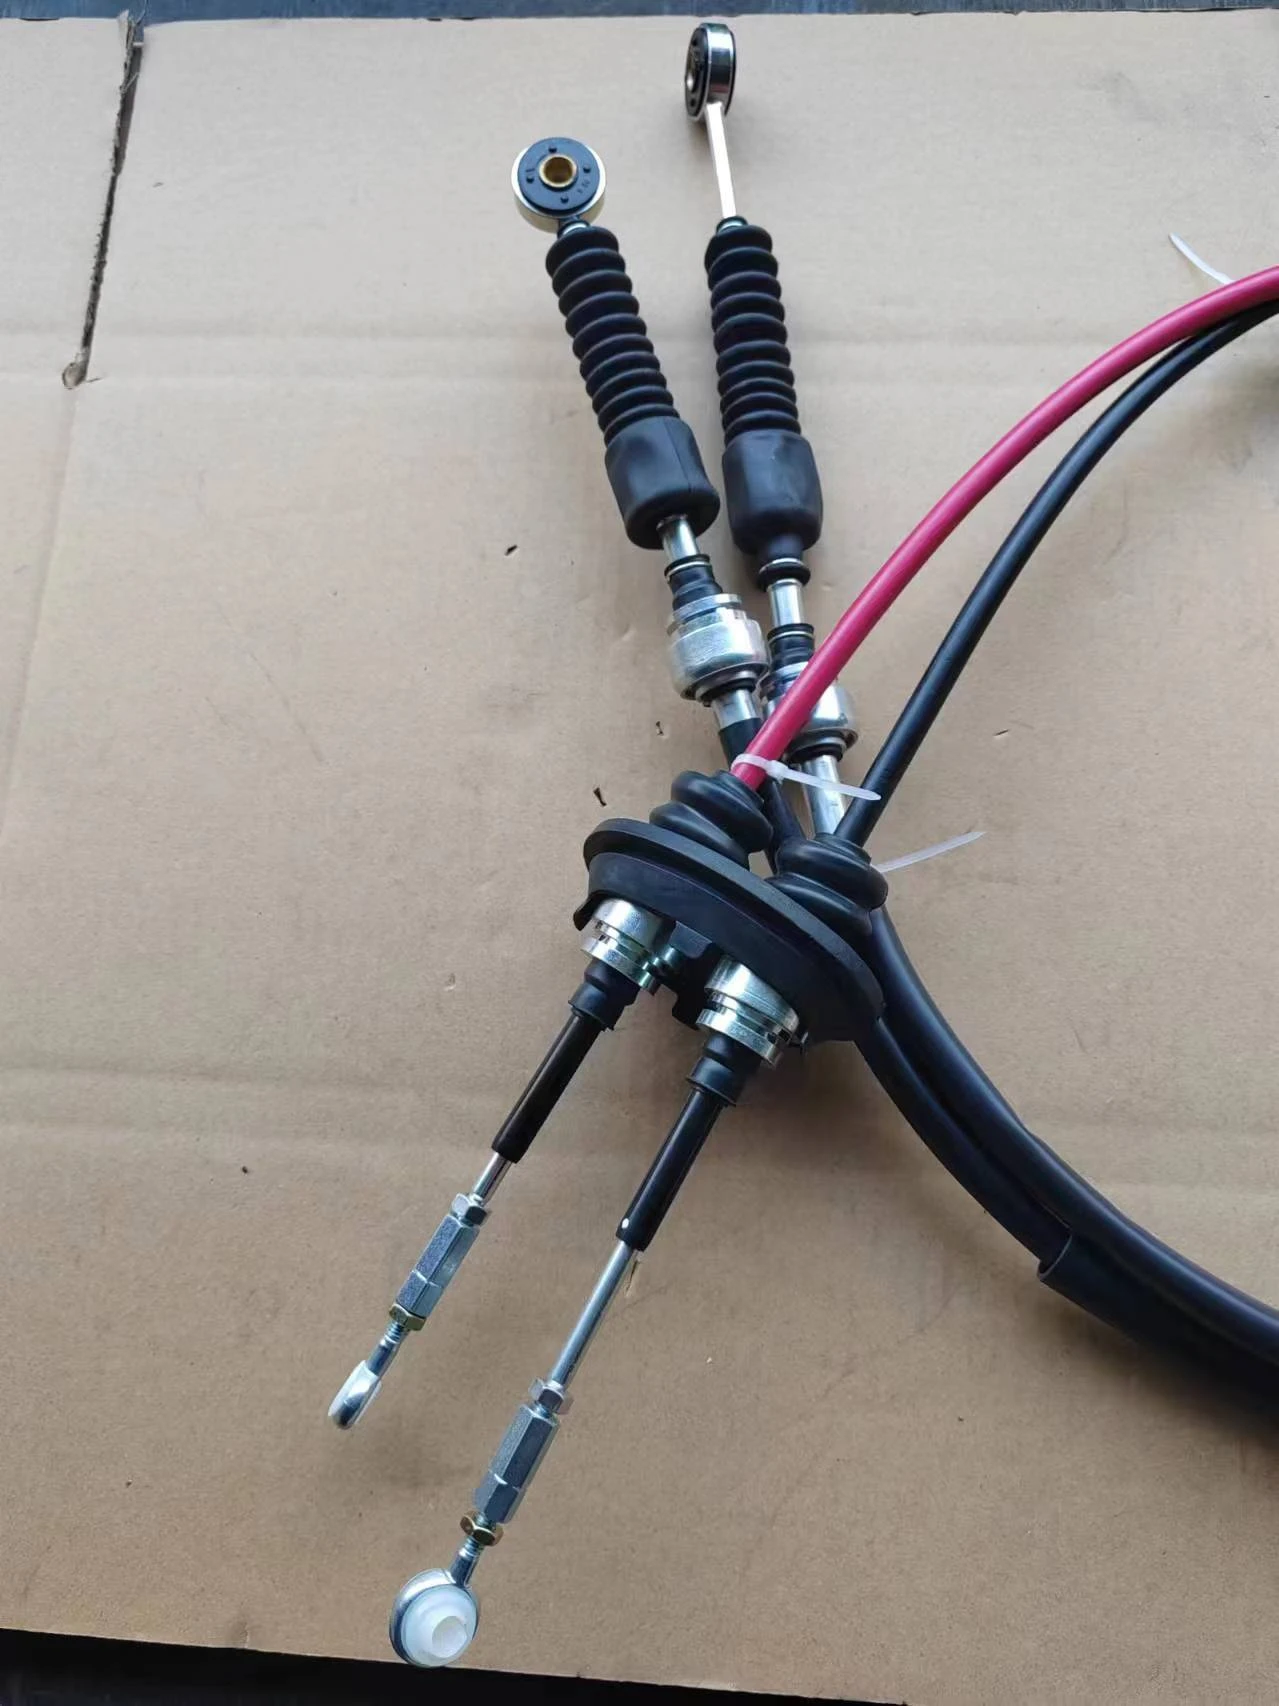
fixing throttle cable
Fixing the Throttle Cable A Comprehensive Guide
The throttle cable is a crucial component in a vehicle's performance, connecting the accelerator pedal to the engine control mechanisms. Over time, this cable can become frayed, stretched, or even entirely broken, leading to poor acceleration and responsiveness. If you find yourself experiencing issues with your throttle cable, such as unresponsive acceleration or uneven engine performance, it may be time to perform a fix. Below is a step-by-step guide to help you tackle this DIY project effectively.
Tools and Materials Needed
Before you begin, gather the necessary tools and materials. You will need
- A wrench set - Screwdrivers (both flathead and Phillips) - Pliers - Replacement throttle cable (specific to your vehicle model) - Lubricating spray - Cleaning cloth
Step 1 Safety First
Always prioritize safety when working on your vehicle. Make sure your car is parked on a level surface, the engine is turned off, and the keys are removed from the ignition. To prevent any accidents, consider disconnecting the battery.
Step 2 Locate the Throttle Cable
The throttle cable is typically located near the engine, connected to the throttle body at one end and the accelerator pedal at the other. You may need to remove some engine covers or components to gain access, so be prepared to unscrew or unclip anything in the way.
Step 3 Inspect the Cable
Once you have access, carefully inspect the throttle cable for any visible signs of damage. Look for fraying, kinks, or breaks. If you notice any of these issues, it’s time to replace the cable.
Step 4 Remove the Old Cable
fixing throttle cable

Start by detaching the throttle cable from the throttle body. Use a wrench to loosen and remove the retaining nuts or clips. Be cautious as you do this, as snapping or bending components could cause further issues.
Next, move down to the accelerator pedal. Locate the point where the throttle cable connects to the pedal mechanism. Again, use the appropriate tools to detach it. Take note of how the cable is routed, as this will help you when installing the new one.
Step 5 Install the New Throttle Cable
Take your new throttle cable and route it in the same manner as the old cable. Connect it first to the accelerator pedal. Ensure it is securely fastened and that there is no undue slack.
Once that’s done, move to the other end and connect the throttle cable to the throttle body. Again, be sure to fasten it securely, ensuring there’s no chance of it coming loose while driving.
Step 6 Test the Cable
Before you close everything up, it’s essential to test the throttle cable's functionality. Reconnect the battery and start the engine. Press the accelerator pedal and observe whether the engine responds smoothly. There should be no hesitation or sticking. If everything looks good, power down the engine again.
Step 7 Reassemble and Clean Up
Once you've confirmed that the new throttle cable operates smoothly, reassemble any components you had to remove for access. Use a cleaning cloth to wipe any spills or debris from the work area to prevent future complications.
Conclusion
Fixing a throttle cable may seem daunting at first, but with the right tools and a bit of patience, it’s a manageable DIY task. Regular maintenance and prompt repairs can keep your vehicle operating smoothly, enhancing both performance and safety on the road. If you encounter any complications or feel uncertain during this process, don’t hesitate to consult a professional mechanic for assistance.
-
Upgrade Your Vehicle with High-Quality Handbrake CablesNewsNov.01,2024
-
Optimize Your Bike's Performance with Quality CablesNewsNov.01,2024
-
Enhance Your Vehicle's Performance with Quality Clutch ComponentsNewsNov.01,2024
-
Elevate Your Vehicle's Performance with Quality Throttle CablesNewsNov.01,2024
-
Elevate Your Vehicle's Performance with Quality CablesNewsNov.01,2024
-
Affordable Solutions for Your Cable NeedsNewsNov.01,2024
