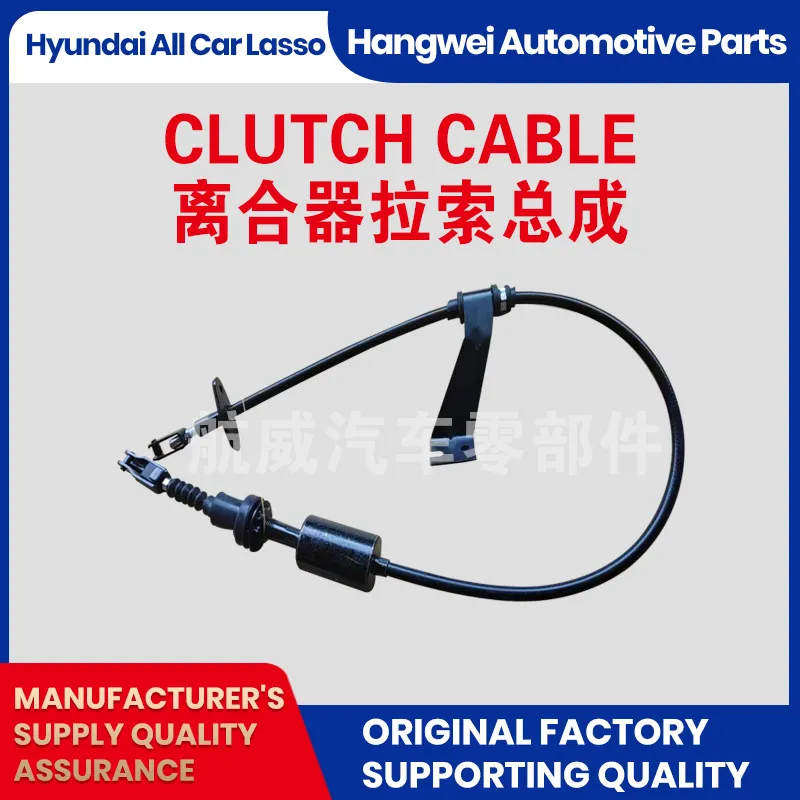
fixing throttle cable
Fixing the Throttle Cable A Step-by-Step Guide
The throttle cable is an integral component in many types of vehicles, including motorcycles, cars, and ATVs. It connects the accelerator pedal to the engine, enabling the driver to control the speed of the vehicle. Over time, the throttle cable can wear out or become damaged, leading to issues such as a sticky accelerator, fluctuating engine speeds, or even complete failure to accelerate. If you’re experiencing these problems, it may be time to fix or replace your throttle cable. In this article, we will guide you through the steps needed to troubleshoot and fix your throttle cable, ensuring a smooth and safe driving experience.
Symptoms of Throttle Cable Problems
Before diving into the repair process, it’s important to identify the symptoms of a faulty throttle cable. Common indicators include
1. Unresponsive Accelerator If pressing the accelerator does not result in an increase in speed, the cable may be broken or disconnected. 2. Sticky Accelerator If the accelerator feels sticky or doesn’t return to a resting position easily, the cable might be frayed or contaminated with dirt and grime. 3. Erratic Engine Speed If your engine speed fluctuates unexpectedly, this could also indicate a throttle cable issue.
Tools Needed
Before starting the repair, gather the necessary tools and materials
- Screwdrivers (Phillips and flathead) - Pliers - Wrenches - A new throttle cable (if replacement is necessary) - Lubricant (such as WD-40 or silicone spray) - A clean rag or cloth
Step-by-Step Repair Process
1. Safety First Begin by ensuring the vehicle is in a safe position. Turn off the engine and, if applicable, disconnect the battery to avoid any electrical issues during the repair.
fixing throttle cable

2. Inspect the Throttle Cable Locate the throttle cable—usually found near the accelerator pedal and connected to the engine. Inspect it for any visible signs of wear and tear, such as fraying, kinks, or rust.
3. Check for Obstructions Ensure there are no foreign objects or debris obstructing the throttle cable’s movement. Sometimes, simply clearing the area can resolve the issue.
4. Lubricate the Cable If the cable appears to be intact but is sticky, applying a lubricant can be helpful. Use a silicone spray or a light oil, and apply it along the length of the cable. This can improve its movement and responsiveness.
5. Reconnect or Replace If you find that the cable is broken or irreparably damaged, you will need to replace it. To do this, disconnect the old cable carefully from both the accelerator pedal and the engine. Follow the vehicle’s manual to ensure that you are correctly routing the new cable through any necessary pulleys or brackets.
6. Install the New Cable Attach the new throttle cable to the accelerator pedal first, ensuring it is secured tightly. Next, connect it to the engine, taking care to position it correctly to prevent binding.
7. Test the New Cable Before reassembling everything, conduct a test. With the vehicle still off, manually pull the throttle cable to see if it moves freely and returns smoothly to its resting position. If everything seems to work as expected, you can proceed to reassemble any removed components.
8. Final Checks Start the vehicle and check the responsiveness of the accelerator. A properly functioning throttle cable should provide smooth acceleration without any sticking or lag.
9. Dispose of Old Parts Safely If you replaced the throttle cable, dispose of the old one responsibly. Many auto parts stores have recycling programs for old components.
Conclusion
Fixing a throttle cable may seem daunting, but following these steps can simplify the process. Regular maintenance of the throttle system is important to ensure optimal vehicle performance and safety. If you continue to experience issues after attempting to fix the throttle cable, it may be wise to consult a professional mechanic. They can provide further diagnosis and assistance, ensuring your vehicle runs smoothly on the road. Keeping your throttle cable in good condition will not only enhance your driving experience but also contribute to the longevity of your vehicle.
-
Upgrade Your Vehicle with High-Quality Handbrake CablesNewsNov.01,2024
-
Optimize Your Bike's Performance with Quality CablesNewsNov.01,2024
-
Enhance Your Vehicle's Performance with Quality Clutch ComponentsNewsNov.01,2024
-
Elevate Your Vehicle's Performance with Quality Throttle CablesNewsNov.01,2024
-
Elevate Your Vehicle's Performance with Quality CablesNewsNov.01,2024
-
Affordable Solutions for Your Cable NeedsNewsNov.01,2024
