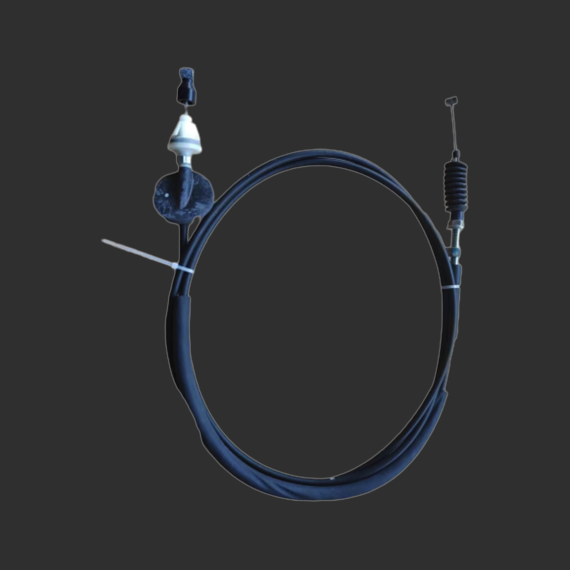
fixing throttle cable
Fixing the Throttle Cable A Comprehensive Guide
The throttle cable is an essential component of any vehicle, as it plays a crucial role in controlling the engine's power and speed. Over time, this cable can wear out or become damaged, leading to poor vehicle performance or even unsafe driving conditions. Whether it's a motorcycle, car, or even a lawn mower, knowing how to fix a malfunctioning throttle cable can save you time and money. This article will guide you through the steps involved in diagnosing and fixing a throttle cable issue.
Understanding the Throttle Cable
The throttle cable connects the accelerator pedal or throttle lever to the engine's throttle mechanism. When you press the gas pedal, the cable pulls on the throttle mechanism, allowing more air and fuel into the engine, which increases the vehicle's speed. If the throttle cable is frayed, stretched, or broken, it can lead to sluggish acceleration or an inability to accelerate at all.
Step 1 Identify the Problem
Before embarking on a repair, it’s essential to identify the problem. Common symptoms of a faulty throttle cable include
- The accelerator pedal feels loose or unresponsive. - The engine does not respond as expected when the pedal is pressed. - The throttle sticks, causing erratic acceleration.
Start by inspecting the cable visually. Look for any visible signs of wear, fraying, or disconnects. Also, check the throttle mechanism itself for any dirt, corrosion, or obstructions.
Step 2 Gather the Necessary Tools and Materials
To fix the throttle cable, you will need a few essential tools and materials
- A new throttle cable (if replacement is necessary) - Pliers - A screwdriver set - A wrench set - Lubricating oil (if adjustments are needed instead of a full replacement)
fixing throttle cable

Step 3 Remove the Old Throttle Cable
1. Locate the Throttle Cable Depending on your vehicle, the throttle cable may be located under the dashboard or at the engine throttle body. 2. Disconnect the Battery For safety, disconnect the negative terminal of the battery before starting any work.
3. Remove the Cable Use the appropriate tools to detach the throttle cable from the accelerator pedal and throttle body. In some cases, you may need to remove a few components for better access. Take note of how the cable is routed for easy reinstallation.
Step 4 Install the New Throttle Cable
1. Route the New Cable Carefully route the new throttle cable in the same path as the old one, ensuring there are no twists or bends that could cause friction.
2. Connect the Cable Attach the cable to the accelerator pedal and throttle mechanism, ensuring it is secure and properly positioned.
3. Adjust the Tension Make adjustments to ensure the throttle cable has the right amount of tension. There should be a slight amount of slack, but it shouldn't be too loose.
Step 5 Test the Repair
Reconnect the battery and start the engine. Test the accelerator pedal to ensure it operates smoothly. Take the vehicle for a short drive to check for any abnormalities in performance.
Conclusion
Fixing a throttle cable might seem daunting at first, but with the right tools and a little patience, it can be an achievable task. Regular maintenance and inspections can help you catch issues early, preventing more severe problems down the road. Always consult your vehicle’s manual for specific instructions relevant to your make and model. By staying proactive, you can ensure your vehicle runs smoothly and safely for years to come.
-
Upgrade Your Vehicle with High-Quality Handbrake CablesNewsNov.01,2024
-
Optimize Your Bike's Performance with Quality CablesNewsNov.01,2024
-
Enhance Your Vehicle's Performance with Quality Clutch ComponentsNewsNov.01,2024
-
Elevate Your Vehicle's Performance with Quality Throttle CablesNewsNov.01,2024
-
Elevate Your Vehicle's Performance with Quality CablesNewsNov.01,2024
-
Affordable Solutions for Your Cable NeedsNewsNov.01,2024
