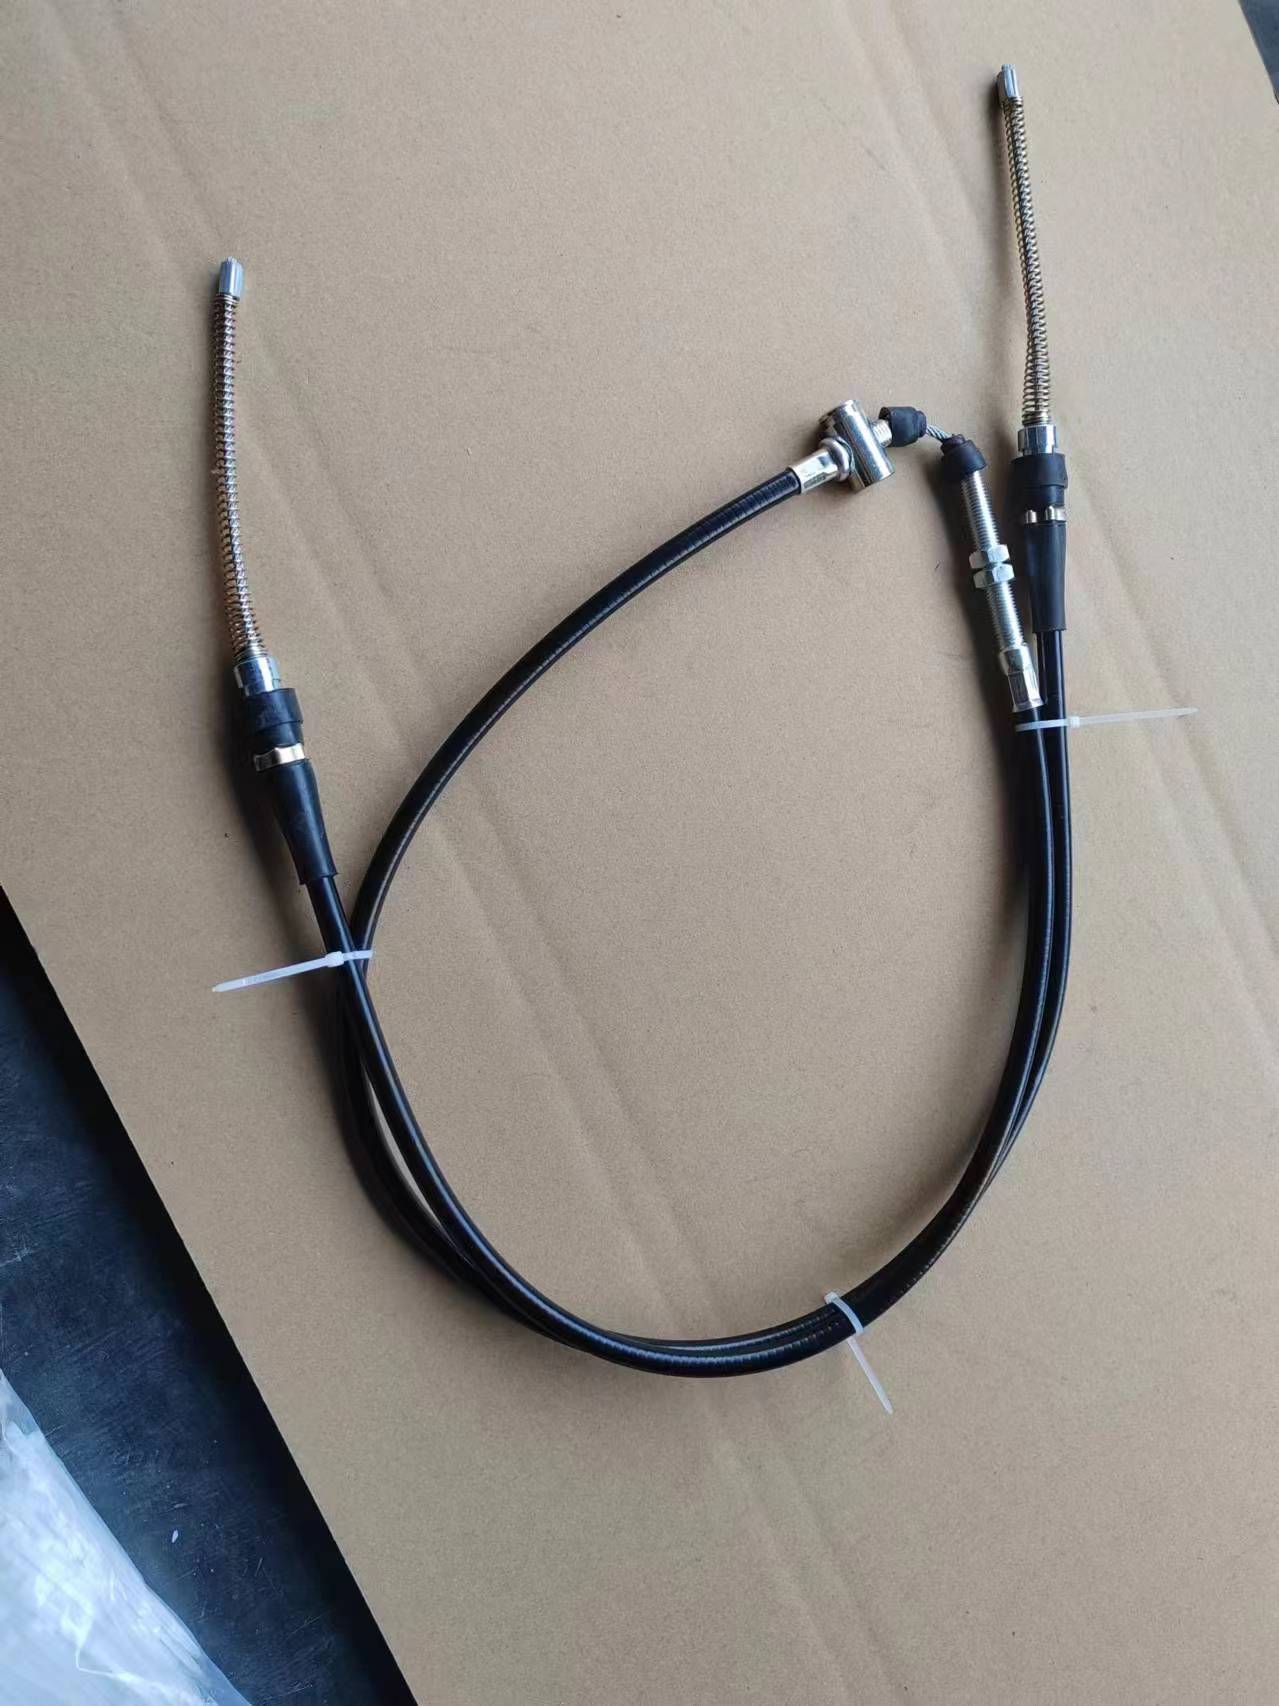
How to Properly Adjust the Throttle Cable for Optimal Engine Performance and Response
Adjusting the Throttle Cable A Comprehensive Guide
The throttle cable is a critical component in the operation of any vehicle, particularly those equipped with internal combustion engines. Proper adjustment of the throttle cable can significantly enhance vehicle performance, responsiveness, and fuel efficiency. This article will guide you through the process of adjusting the throttle cable, ensuring optimal performance from your vehicle.
Understanding the Throttle Cable
The throttle cable connects the accelerator pedal to the throttle body, controlling the amount of air and fuel mixture entering the engine. When you press the accelerator pedal, the cable pulls the throttle open, allowing more air and fuel into the combustion chamber. This action increases the engine's power output, ultimately propelling the vehicle forward.
A properly adjusted throttle cable ensures that the throttle responds immediately and accurately to the driver's commands. If the cable is too loose, it may result in a delay or lack of response when accelerating, leading to a less enjoyable driving experience. Conversely, a cable that is too tight can cause unintended acceleration or even damage the throttle mechanism over time.
Signs that Adjustment is Needed
Before adjusting the throttle cable, it’s essential to recognize the signs that it may need attention. Common indicators include
1. Delayed Response When pressing the accelerator, if there’s a noticeable delay before the vehicle accelerates, it could mean the cable is too loose. 2. Sticking Throttle If the throttle sticks or doesn’t return to its closed position smoothly, the cable may be too tight or frayed. 3. Unusual Engine Behavior If the engine idles too high or fluctuates unexpectedly, an improperly adjusted cable may be to blame.
Tools Required
To adjust the throttle cable, you will need - A ratchet and socket set - A screwdriver - A measuring tape or ruler - A shop manual (specific to your vehicle)
adjusting the throttle cable

Steps to Adjust the Throttle Cable
1. Locate the Throttle Cable Open the hood and locate the throttle cable connected to the throttle body. Consult the owner’s manual if you have trouble finding it.
2. Inspect the Cable Before making any adjustments, visually inspect the cable for signs of wear, fraying, or damage. If the cable is damaged, it should be replaced rather than adjusted.
3. Check the Free Play Use your fingers to wiggle the throttle cable where it connects to the throttle body. Ideally, there should be a small amount of free play (around 1/8 inch) before the throttle begins to open. If there’s too much play, the cable needs tightening; if there’s too little, it may need loosening.
4. Adjust the Cable Most throttle cables have an adjustment nut located near the throttle body or along the cable. Use a ratchet or wrench to turn the adjustment nut to increase or decrease the tension in the cable. Make small adjustments and regularly check the free play as you go.
5. Test the Throttle After making adjustments, have someone press the accelerator pedal while you observe the throttle’s movement. Ensure the throttle opens fully when the pedal is pressed and returns to the closed position without sticking.
6. Final Check Start the engine and take a short test drive. Monitor how the vehicle accelerates and responds to the throttle input. If needed, make further adjustments until you achieve the desired response.
Conclusion
Adjusting the throttle cable is a relatively straightforward process that can significantly enhance your vehicle's performance and drivability. Regular maintenance checks on your throttle cable can prevent more extensive mechanical issues down the line and ensure a smoother, more enjoyable ride. Whether you’re a seasoned mechanic or a novice car owner, understanding how to adjust the throttle cable will empower you to take better care of your vehicle.
-
Upgrade Your Vehicle with High-Quality Handbrake CablesNewsNov.01,2024
-
Optimize Your Bike's Performance with Quality CablesNewsNov.01,2024
-
Enhance Your Vehicle's Performance with Quality Clutch ComponentsNewsNov.01,2024
-
Elevate Your Vehicle's Performance with Quality Throttle CablesNewsNov.01,2024
-
Elevate Your Vehicle's Performance with Quality CablesNewsNov.01,2024
-
Affordable Solutions for Your Cable NeedsNewsNov.01,2024
